Instructions that see what you're building
Smart Build — interactive assembly for Tvorets sets
Point your camera at the QR code on the box and the paper booklet turns into 3D. Rotate the model, build it step by step, ask “where does this piece go?” — and the phone next to your TV becomes the camera and the remote.
- Pairing the phone
- Looking the model over
- Building
- Showing the spot
- Checking with the camera
- Model complete
Concept animation. The model follows the shape of the real set, but it is not yet its exact 3D geometry — that arrives with the digital copy.
Why
A printed booklet ends at the last page
The printed booklet works once: the child finishes the set and it goes back into the box. Everything the set was made for — why the candles are lit, why there are two challahs, what Kiddush is — was read once at best, in passing.
On screen the order is reversed. The child leads the build and presses “Next”, and the explanation arrives not as a separate section someone has to choose to open, but at the second when it makes sense.
None of it is new copy: everything on screen comes straight from our printed booklet. The booklet stays in the box — the screen version adds to it.
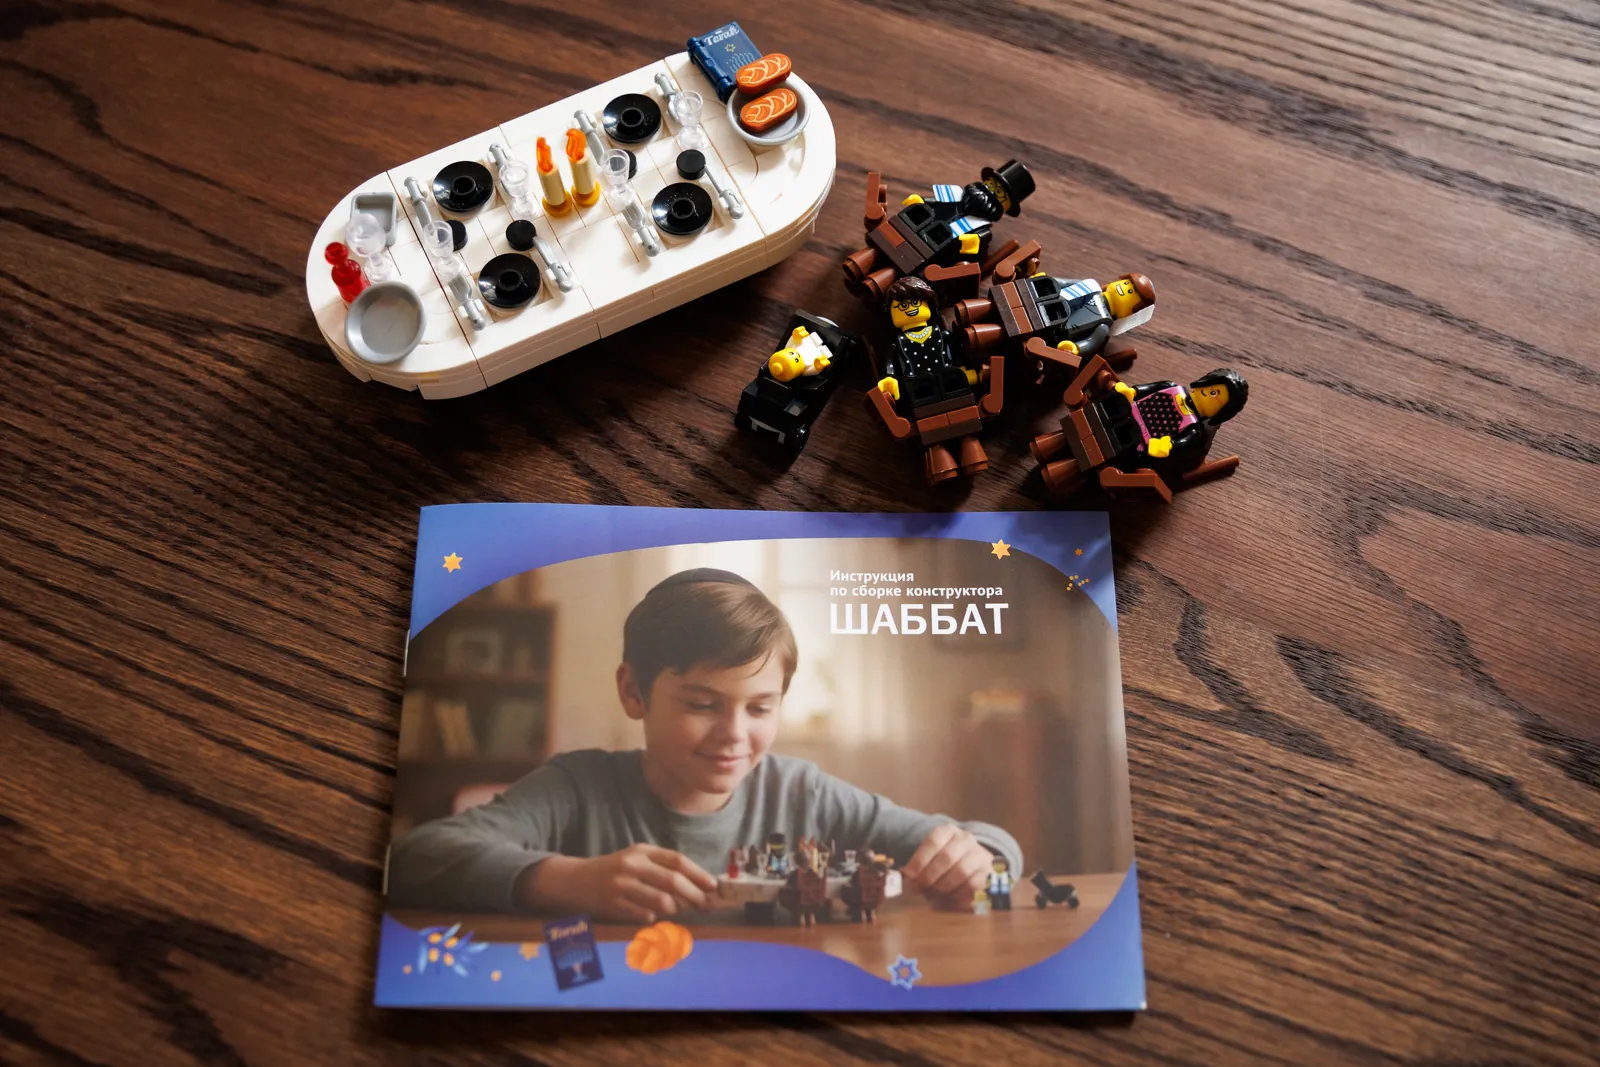
The moment
The child places the candles — and the table starts talking
Here is what happens on the tenth step of building the Shabbat Table.
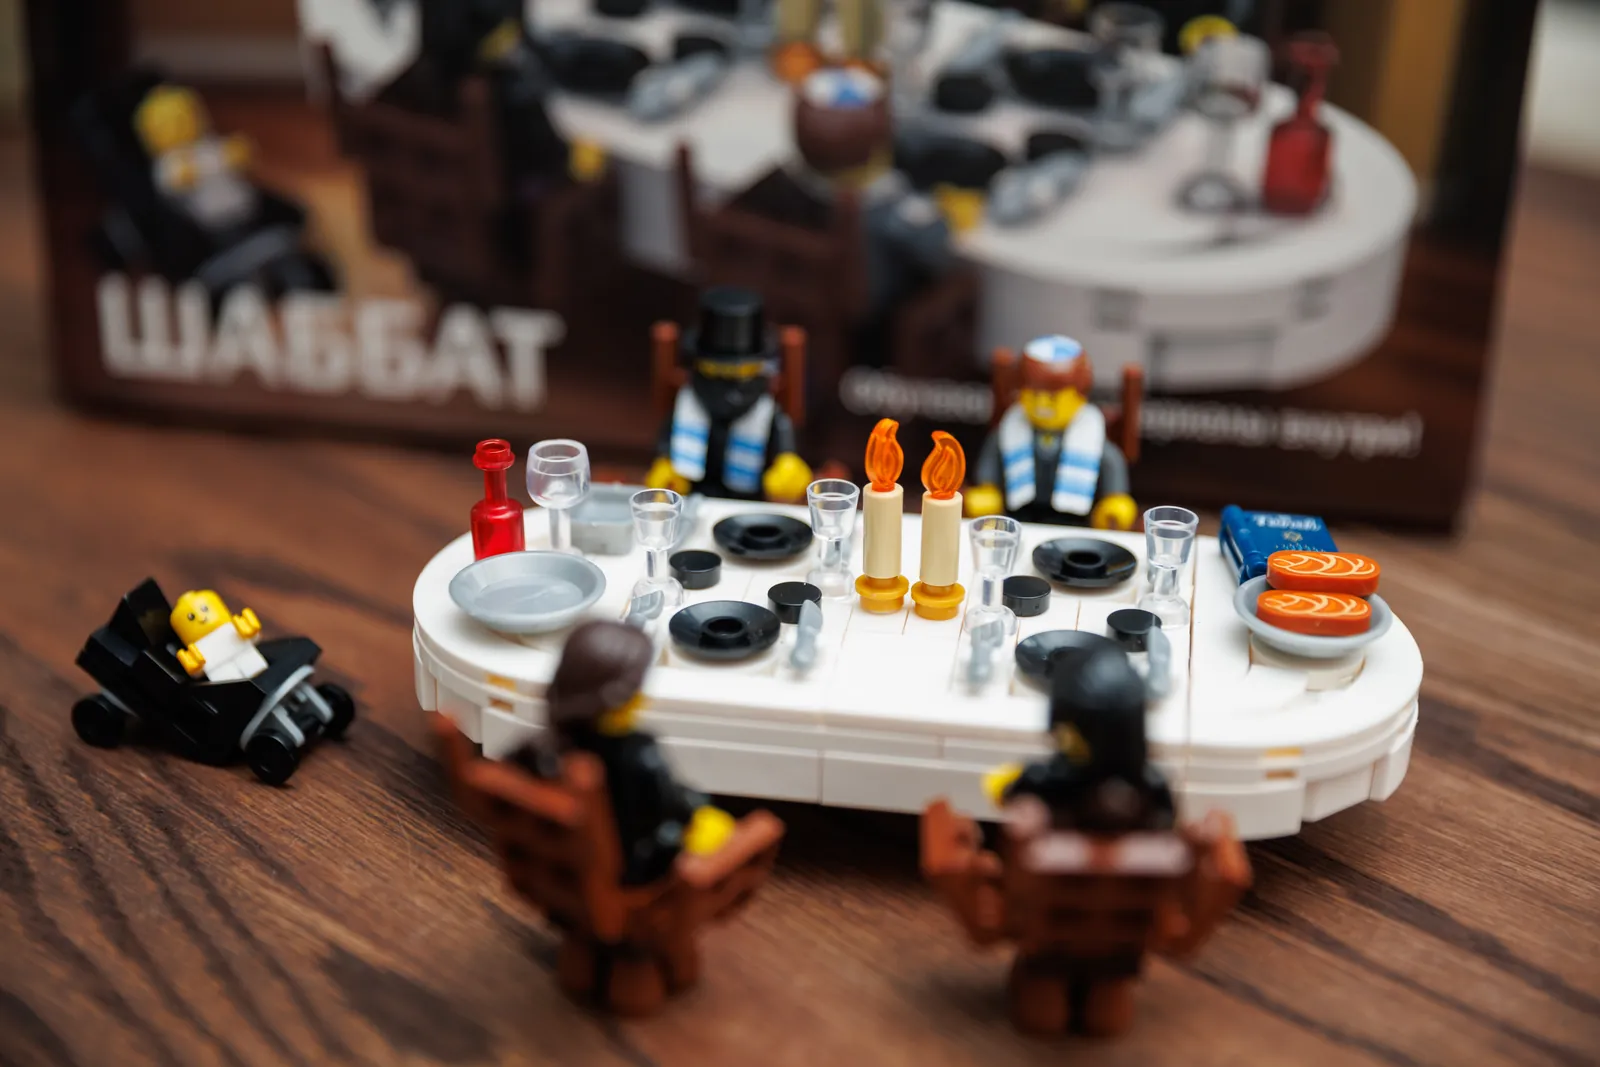
Step 10 of 13 · Lighting the candles
Why the candles are lit
The candles remind us of the commandments to “remember and keep the Sabbath day”.
On Shabbat eve the candles are lit, filling the home with light, warmth and peace. In many families girls light a candle of their own, too.
Based on the set's printed booklet, page 17
Open the instructionsHow it works
Six steps instead of a stack of paper
- 01
Scan the QR code on the box
The right set opens straight away — nothing to search for or pick from a list.
- 02
See the finished model in 3D
Rotate it, zoom in and study it from every angle before you start.
- 03
Build step by step
The screen shows only the pieces you need right now: shape, color and quantity.
- 04
Ask “where does this go?”
The model turns, the spot lights up and a translucent piece shows exactly how to place it.
- 05
TV and phone together
The big screen carries the build, the phone becomes the camera and the remote.
- 06
Progress is saved
Stop halfway and pick it up later — even on a different device.
Honestly
Where the project stands
Already done
- Architecture and technical specification
- Skeleton of the build screen and the phone-to-big-screen link
- Cultural cards for the steps in three languages
In progress
- Digital 3D models of the sets
- Turning the printed booklet into steps and pieces
- Camera verification of the build
No launch date yet: the timeline depends on digitizing the models, not on the software.
The sets are ready to build today
Smart Build comes later and will work with the sets you buy now: a QR code joins the box, and the printed booklet stays where it is.
Choose a set